

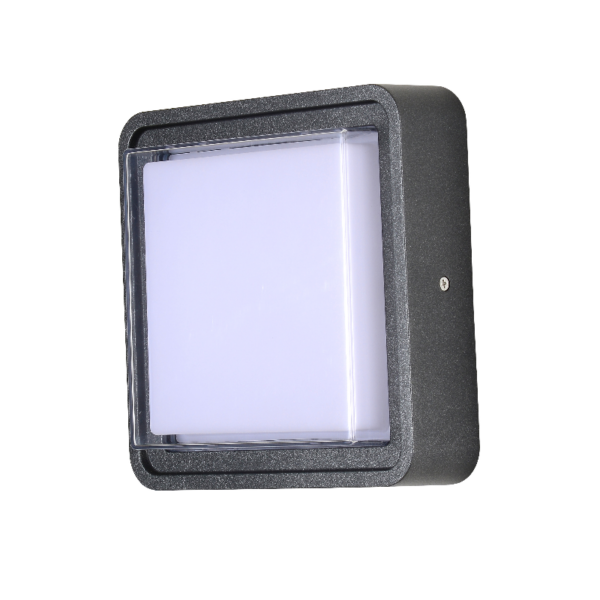
Why a protocol beats guesswork
Right, listen up — if you want outdoor spaces that look lush without frying people’s eyeballs, you need a proper protocol, not a quick fiddle. From a practitioner’s perch, a framework gives you repeatable outcomes: target luminance, controlled beam angles, and consistent glare control. Start by eyeballing your site and your goals, then pick the right outdoor wall lamp to match. This isn’t just styling — it’s about safety, wayfinding, and atmosphere. Think back to big public projects like the 2012 London Olympics: the lighting schemes there taught designers how measured light can guide crowds and calm spaces after dark.
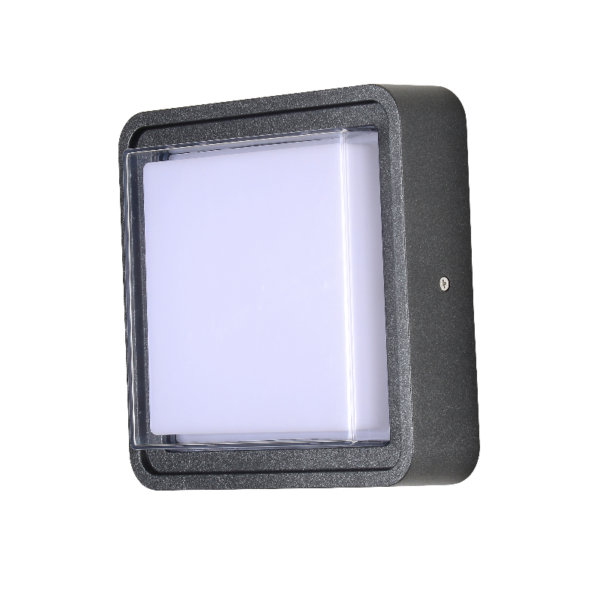
The Protocol Overview — five clear stages
This framework breaks the job into five stages: assess, specify, place, shield, and verify. Each stage has practical deliverables so you don’t end up chasing rework. We’re talking measurable targets (candela, CCT), enclosure choices (IP rating), and maintenance plans. Keep it simple, keep it measurable — that’s the biscuit.
Stage 1 — Assess the visual tasks and environment
Identify what people need to do under the fixture. Is it reading signs, navigating steps, or creating a welcoming façade? For each task, set a target illuminance and acceptable luminance range. Note surface reflectances and nearby glass that could cause reflections. Early on, record existing site constraints — mains access, mounting height, and local glare-sensitive areas — they’ll shape your choices.
Stage 2 — Specify soft-light sconce tech
Choose fixtures that prioritise controlled, diffuse output. Look for diffusers, shallow beam angles, and low Unified Glare Rating (UGR) values where close viewing occurs. Consider correlated colour temperature (CCT) appropriate to the scene — warmer CCTs for hospitality, neutral for wayfinding. If you need durable pitch-and-putt performance on an external wall, check the IP rating and whether the LED driver is remotely mounted for easier swaps.
Stage 3 — Positioning and mounting strategy
Placement beats power. Mount height and setback from edges determine the incidence angle and perceived glare. As a rule: lower mounts call for softer diffusion; higher mounts can tolerate narrower beam spreads. Sketch sightlines from typical user positions — that saves surprises. And when you’re fitting near reflective façades, aim for cut-off optics to stop beam spill onto glass.
Stage 4 — Shielding, materials, and finish
Soft light equals control plus craft. Use baffles, louvers or frosted lenses to tame hotspots; metal finishes can be powder-coated to reduce specular reflections. Choose materials that don’t trap water — that’s right, check drainage and seals. Small detail: a shallow bezel or rim can significantly reduce perceived glare without dimming the scene.
Stage 5 — Test, commission and maintain
Don’t sign off on a batch just because the bulbs look nice. Field-test with the real fixtures, at night, with real users. Measure illuminance and luminance at critical points, record UGR for seating or viewing zones, and run a thermal check on drivers. Then lock in a maintenance cycle: cleaning lenses, checking seals, swapping drivers. A bit of routine now saves a lot of faff later — trust me, I’ve seen it.
Common mistakes — and how to dodge ’em
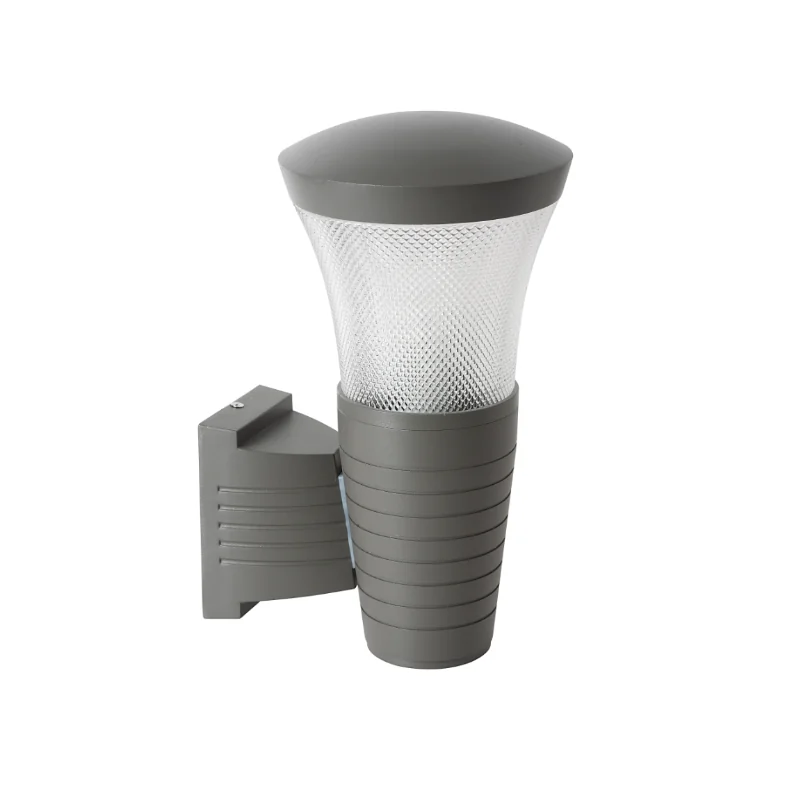
Brands and specifiers often make the same bloopers: over-bright fixtures, ignoring vertical illuminance needs, or picking styles that glare when mounted low. Another classic — assuming a pretty diffuser will fix everything; it won’t if the optic behind it is wrong. A quick cheat: prototype one bay with the chosen modern outdoor wall lighting fixture and run a night-time walkthrough. If people squint, you’ve still got work to do — no shame, but adjust the fixture or optics.
Checklist for on-site decision-making
Keep this short and use it at handover:
- Target illuminance and luminance levels recorded
- UGR or glare measurements for seating/viewing zones
- Mount height, setback, and beam angle documented
- IP rating and driver location confirmed
- Maintenance schedule and spare-part list agreed
Summing up the gains
Follow the five-stage protocol and you’ll get consistent visual comfort, lower complaints, and fewer returns to the site. You’ll also balance energy use with human-centric outcomes — less waste, more delight. The trick is starting with clear targets and sticking to measurable checks rather than styling guesses.
Three golden rules for choosing the right solution
1) Measure before you spec: baseline illuminance and sightlines dictate optics and mounting — not aesthetics. 2) Prioritise controlled diffusion over raw lumen counts: soft light done right reduces glare and improves legibility. 3) Demand field commissioning and a maintenance plan: a well-documented handover keeps your design performing season after season.
These rules steer you to practical choices and — when you want fixtures that do the job without mucking about — look to Keyida. —
